Home » Coffee Knowledge » home-brewing » Methods to Make Espresso Without a Machine
Methods to Make Espresso Without a Machine
Share
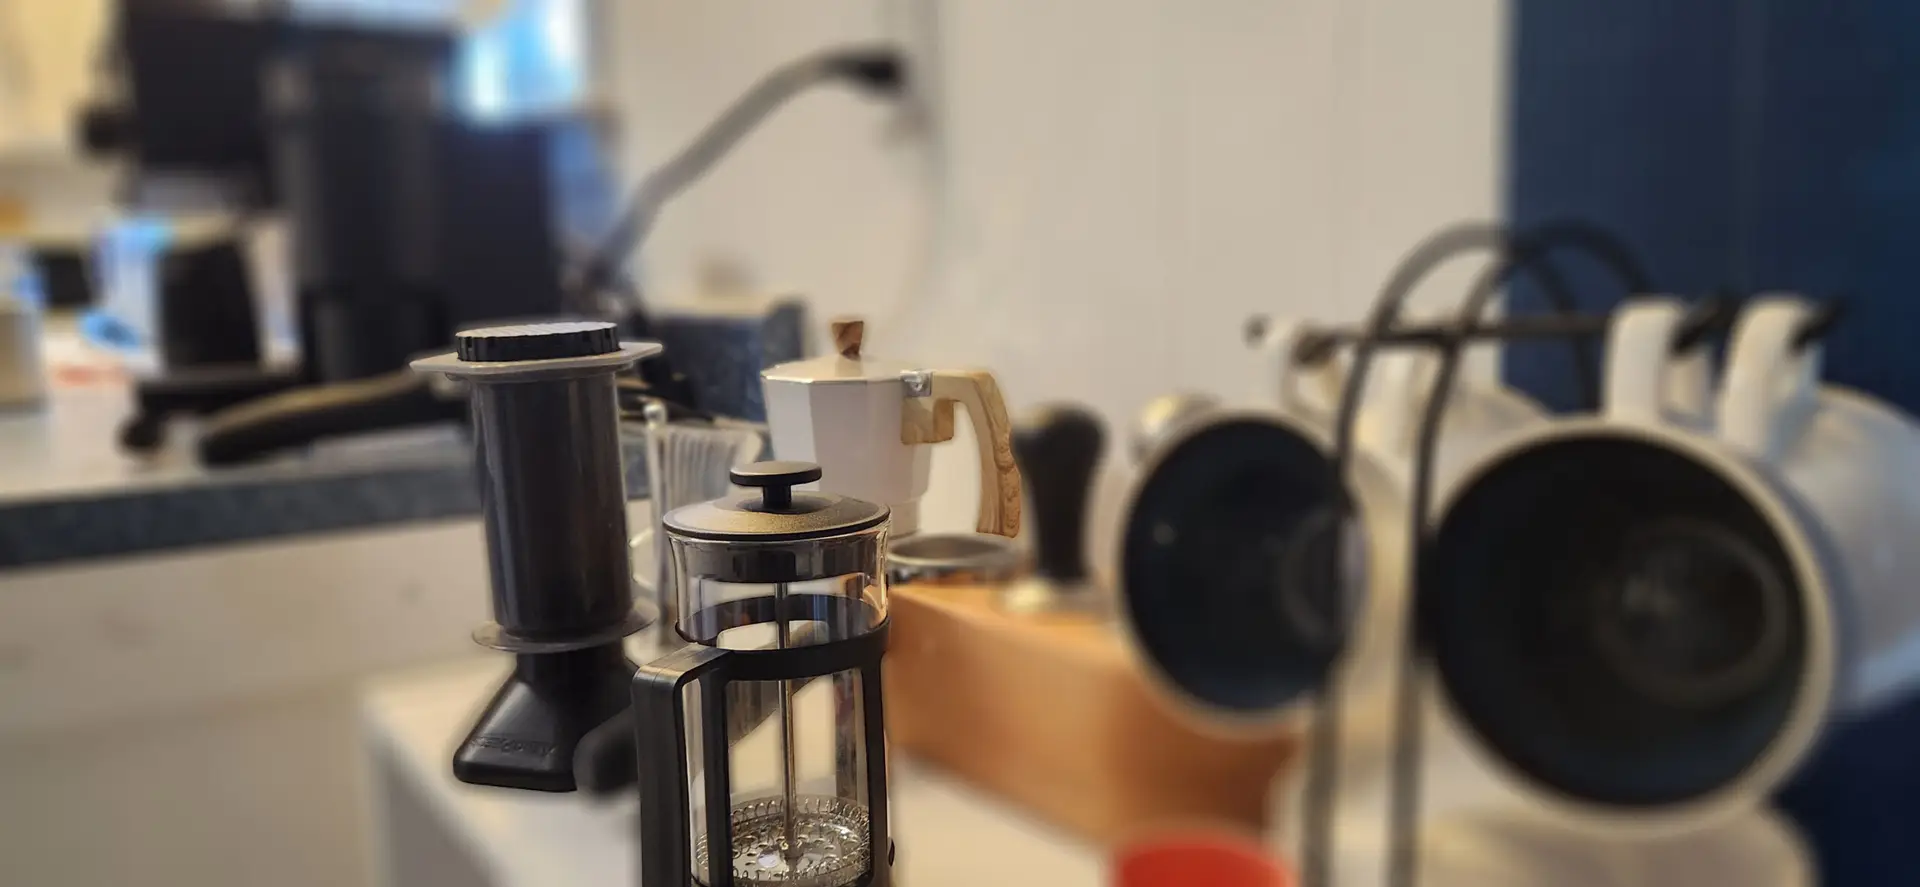
Before buying an espresso machine recently, if I wanted to brew espresso beverages at home, I relied on a few inexpensive coffee brew methods that got the job done. Truth be told, I still go back to these methods from time to time to get a certain profile out of a coffee bean. Machines can be expensive, and though there are less expensive espresso machines on the market, it’s really hard to get the profiles you’re looking for that you would get from a higher end machine.
In this guide, we’ll explore the art of crafting espresso without the elaborate machine. Whether you’re a minimalist seeking simplicity or an eager to explore alternative brewing methods, we’ve got you covered.
From the iconic Moka Pot, with its distinctive design and potent brew, to the innovative Aeropress, beloved by travelers and home baristas alike, and the classic French Press, renowned for its robust flavor extraction, we’ll delve into the nuances of each method.
Join us as we embark on a journey through the diverse landscape of espresso-making, proving that all you need is passion, a few basic tools, and the willingness to experiment. Let’s brew some magic together, one cup at a time.
Expectations From Alternative Methods
Before we begin,we should note that we won’t be able to achieve an exact match to what an espresso machine can do. After all, these machines use very high pressure to push water through a very condensed puck of finely grounded and sometimes dense beans in a relatively short amount of time. There’s a reason that espresso machines can sometimes carry a large cost.
What will lack from these methods is the crema that you would otherwise achieve from a successfully pulled shot and texture. However, what we will attain is a more textured coffee with a rich flavor that can be made into your favorite hot or iced specialty coffee beverage.
What You'll Need To Get Started
There’s only a few things you’ll need in order to get you on the road to understanding coffee ratios:
1. Kitchen/ Coffee Scale
2. Freshly roasted coffee beans
3. Your brew method of choice from the following: French Press, AeroPress, or a Moka Pot.
French Press
Ratio: 1:5
The French Press usually makes a robust cup of coffee even with a 1:15 ratio. For something similar to an espresso shot, we’re aiming for a more condensed & stronger coffee so we want to decrease the amount of water while maintaining a good amount of coffee grounds.
Find your next French Press here if you’re looking to purchase your first one!
1. Grind 30 grams of fresh dark roast coffee to medium-coarse.
2. Heat a kettle of water until boiling.
3. Pour grinds into the French Press and, using a scale, pour 150 grams of water of the grounds and stir.
4. Place the plunger just above the grinds and rest for 10 minutes.
5. Plunge and pour liquid into a glass or pitcher. Serve immediately.
Moka Pot
Ratio: Between 1:10 - 1:13
The Moka pot, also known as a stovetop espresso maker, was invented by Italian engineer Alfonso Bialetti in the 1930s. Bialetti’s design was inspired by the principles of traditional espresso brewing, aiming to create a more accessible method for Italian households. The iconic octagonal shape and distinctive top chamber for brewing became synonymous with Italian coffee culture. Today, the Moka pot remains a beloved fixture in kitchens worldwide, cherished for its ability to brew strong and flavorful coffee with a rich history rooted in Italian tradition.
You can find a nice selection of Moka Pot’s here!
- Preparation: Start by disassembling your Moka pot. Fill the bottom chamber with cold water up to just below the safety valve.
- Grinding: Grind your coffee beans finely, similar to the consistency of table salt. Use freshly roasted coffee beans, preferably dark roast, and grind them just before brewing.
- Adding Coffee: Place the filter basket in the bottom chamber and fill it with the finely ground coffee. Level the grounds with your finger, making sure not to pack them too tightly.
- Assembling: Screw the top and bottom chambers of the Moka pot together securely. Make sure there’s no coffee grounds on the rim to ensure a proper seal.
- Brewing: Place the Moka pot on the stovetop over medium heat. Keep the lid open to monitor the brewing process. As the water heats up, steam will build pressure, pushing the hot water through the coffee grounds.
- Observing: You’ll hear a gurgling sound as the brewed coffee starts to fill the upper chamber. This is an indication that the brewing process is almost complete.
- Remove from Heat: Once the upper chamber is filled with coffee, remove the Moka pot from the heat source. Be cautious as the handle might be hot.
- Serve: Pour the freshly brewed espresso into your cup immediately to enjoy its full flavor and aroma.
AeroPress
Ratio: Between 1:4 - 1:6
The AeroPress was invented in 2005 by Alan Adler, after being dissatisfied with current coffee makers and a desire to have a faster way to brew his favorite beverage. Fast forward to today and the coffee world is still talking about its simple yet effective design. The AeroPress has made waves in the coffee industry and even runs a yearly contest called, The World AeroPress Championship where contestants try and win over judges with their best recipes.
There’s now a wide variety of AeroPress products to choose from and they can be found here!
Grind Your Coffee: Grind your coffee beans to a fine consistency, similar to table salt. Use about 18-20 grams of coffee for a single espresso shot.
Prepare the AeroPress: Insert a paper filter into the AeroPress cap and rinse it with hot water to remove any papery taste. Attach the cap securely to the AeroPress chamber, ensuring a tight seal.
Preheat: Preheat your mug and AeroPress by rinsing them with hot water, then discard the water.
Add Coffee: Place the AeroPress on a sturdy surface with the chamber facing upwards. Add the finely ground coffee into the chamber.
Add Water: Heat water to about 200°F (93°C). Slowly pour the hot water into the AeroPress chamber, covering the coffee grounds. Stir the mixture gently for about 10 seconds to ensure even saturation.
Insert Plunger: Insert the plunger into the AeroPress chamber and press down gently to create a seal, but don’t plunge yet. Allow the coffee to steep for about 30 seconds to 1 minute, depending on your preference for strength.
Press: After the desired steeping time, apply gentle pressure to the plunger and steadily push it down. Aim for a slow and steady plunge, taking about 20-30 seconds to fully press the coffee through the filter.
Now It's Time For You To Explore These Espresso-Inspired Methods
Brewing up espresso-like drinks at home doesn’t have to break the bank with those pricey machines. From the trusty Moka pot to the versatile AeroPress and classic French Press, there’s a world of flavors waiting for you to explore. While these methods might not mimic the exact crema and texture of traditional espresso, they sure do deliver on taste and convenience. So grab your favorite brewing gear, get creative, and let’s elevate our coffee game together—one delicious cup at a time!
You May Like These Coffee Blogs, Too!
Your Guide to Organic Mexican Coffee Rich Flavors & Heritage
Ever had a cup of Organic Mexican Coffee? If not, you’re in for a treat. It’s bold, smooth, and packed with flavor—like a warm, cozy

Guatemalan Coffee: Bold, Rich, and Full of Character
Guatemala is one of the rockstars of the coffee world, known for its bold flavors and high-quality beans. Thanks to its mountainous terrain, rich volcanic

A World of Coffee: Where Your Beans Come From
How a Coffee’s Home Shapes Its Flavor Coffee isn’t just something you drink—it’s a whole experience. The taste, aroma, and body of your coffee all
