
There's something deeply satisfying about a well-made coffee with milk — that balance of bold coffee and creamy, velvety foam that most people only expect from a café. The good news is you don't need expensive equipment or barista training to get there. With a few solid techniques and the right setup, you can make lattes, cappuccinos, café con leche, and iced milk coffees at home that are genuinely worth waking up for.
Not all coffee works well with milk. The creamy sweetness of milk can wash out lighter or more delicate roasts, so you want something bold enough to hold its own.
Dark roasts are the go-to — the chocolate, caramel, and nutty notes in a good dark roast complement milk's natural sweetness rather than competing with it. Espresso blends are specifically designed for this and are worth seeking out at a local roaster or a quality coffee shop. Single-origin coffees from Brazil or Colombia often work well too, since both regions tend to produce beans with chocolate and nut profiles that pair naturally with milk.
Freshness matters more than most people realize. Coffee hits its peak flavor within two to four weeks of roasting. Check roast dates when you can and buy in quantities you'll actually use — your lattes will be noticeably better for it.

The milk you choose has a real impact on texture, taste, and foam quality.
For dairy, whole milk (3.5% fat) is the gold standard. It creates rich, stable foam with a velvety texture that's hard to beat. Two percent is a solid middle ground — decent foam with a bit less fat. Skim milk produces more foam volume thanks to its higher protein content, but the texture is lighter and less creamy.
For plant-based options, oat milk is the clear winner — it foams reliably and has a neutral flavor that works with coffee rather than against it. Always use a "barista blend" version, which is formulated to froth and behave more like dairy. Almond milk tends to separate in hot coffee unless you're using a barista formulation. Soy milk has decent protein content for frothing but can curdle with acidic coffees. Coconut milk adds a distinct flavor and doesn't foam as reliably.
| Milk Type | Foam Quality | Flavor | Best For |
|---|---|---|---|
| Whole Milk | Excellent — velvety, stable | Rich, sweet | Lattes, cappuccinos |
| 2% Milk | Good | Balanced | All-purpose |
| Skim Milk | High volume, less stable | Lighter | Cappuccinos |
| Oat Milk (barista) | Good | Neutral, slightly sweet | Best plant-based option |
| Almond Milk | Less stable | Nutty | Flavored drinks |
| Soy Milk | Moderate | Bean-like | Macchiatos |
The science behind it comes down to proteins. Heat and aeration cause milk proteins to unfold and trap air bubbles. Higher-protein milks create more foam volume, while higher-fat milks produce a denser, more stable texture — which is why whole milk sits at the sweet spot for most drinks.
To make great coffee with milk at home, you need a strong enough base that won't get lost once the milk joins in. Here are the best methods:
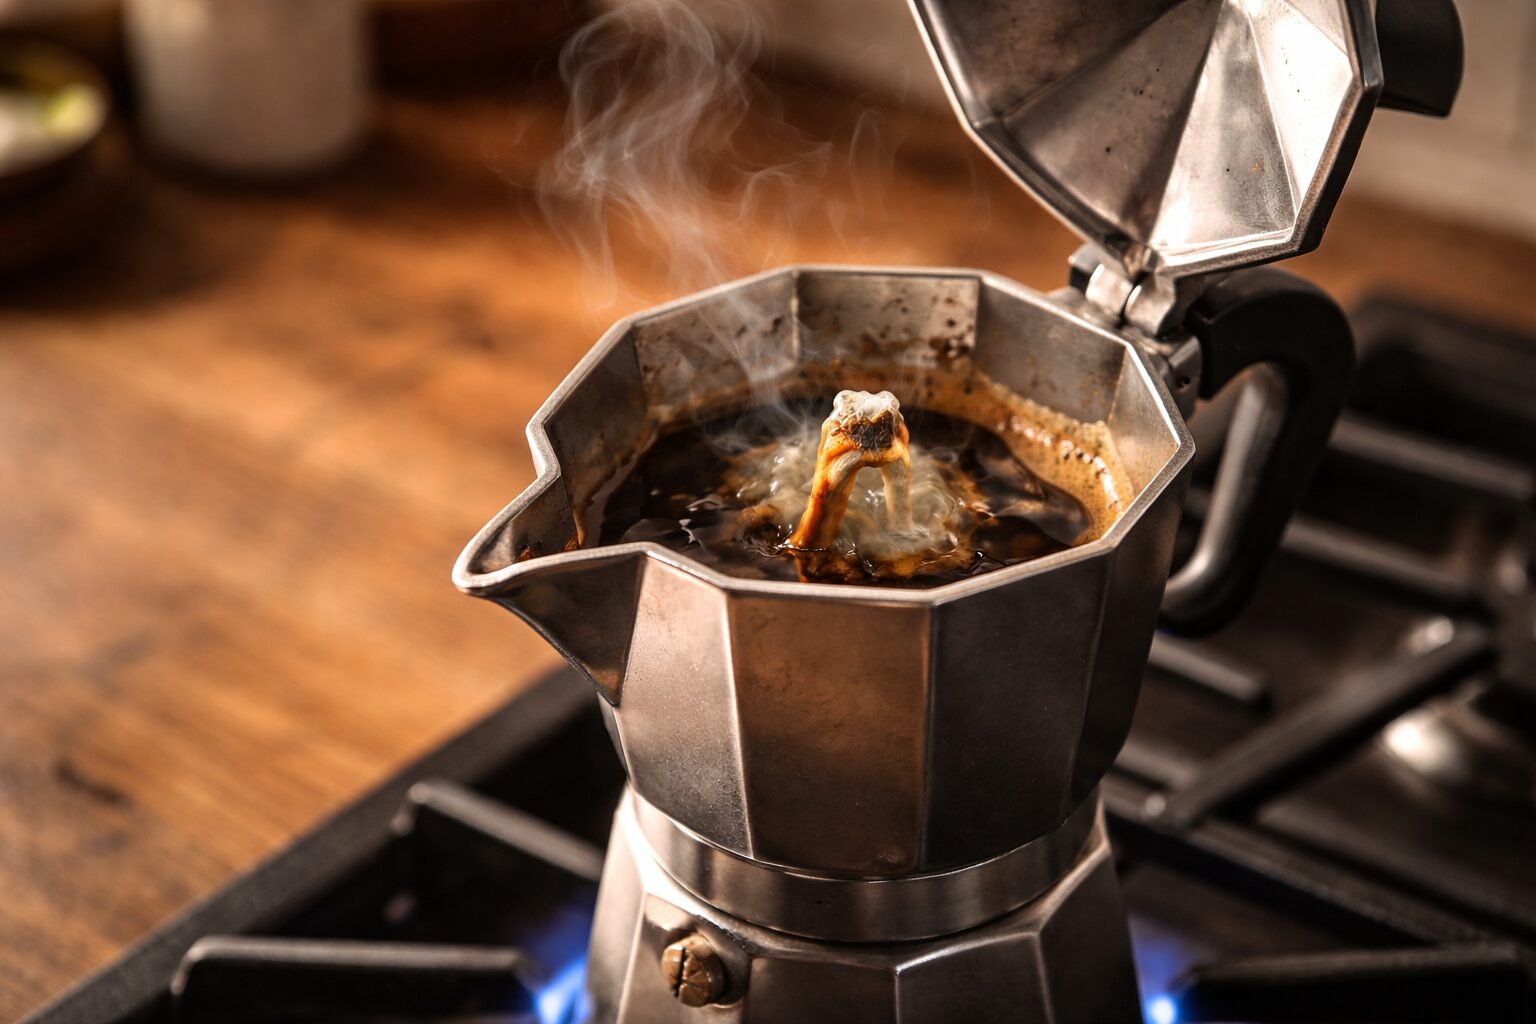
Moka pot — Fill the bottom chamber with water just below the valve, add finely ground coffee to the basket without tamping, and heat on medium-low. Remove from heat the moment the flow slows to a trickle. The concentrated result is the closest thing to espresso you can get without a machine and is ideal for milk drinks. Our guide to making espresso without a machine covers all your options.
AeroPress — Try the inverted method: insert the plunger slightly, flip upside down, add 18g of fine-ground coffee, and pour in 90g of 200°F water. Stir briefly, steep one minute, flip onto your cup, and press firmly. Clean, concentrated, and pairs beautifully with milk.
French press — Dial up the ratio to 1:10 coffee to water. Grind medium-coarse, bloom with a small splash of hot water for 30 seconds, add the rest, steep four minutes, and press slowly. Pour immediately to avoid over-extraction. See our French press guide for the full method.
Cold brew concentrate — Combine coarsely ground coffee with cold water at a 1:4 ratio and steep 12–24 hours in the fridge, then strain. It keeps for up to two weeks refrigerated and makes an excellent base for iced milk drinks.
Whatever method you use, brew stronger than you would for black coffee — the milk will dilute things, and you want the coffee to hold its ground.
A handheld frother is the easiest and most reliable home method — and you don't need to spend much to get a good one. If you're shopping for one, we cover the full range of options in our best milk frothers for home use guide. Here's how each frothing method works:
Handheld frother — Heat milk to 150°F, hold your container at a slight angle, submerge the frother just below the surface, and run it for 20–30 seconds while moving it slowly up and down. Tap the container firmly on the counter to pop large bubbles, then swirl to integrate the foam with the liquid milk.
Mason jar method — Fill a jar halfway with cold milk, seal tightly, and shake vigorously for 30–60 seconds. Remove the lid and microwave uncovered for 30 seconds. The heat stabilizes the foam better than you'd expect.
French press — Heat milk to 150°F, pour into a clean French press, and pump the plunger up and down rapidly for about 30 seconds. Works especially well with oat milk.
Temperature is the key variable across all methods. At 150°F the milk proteins unfold and create stable foam. Too cold and they won't open up; above 160°F they start to break down. If you don't have a thermometer, pull the milk off heat the moment it begins to steam and form tiny bubbles around the edges.

Café con leche is one of the simplest and most satisfying milk coffees you can make at home. Brew your strongest coffee using a moka pot or French press. Heat whole milk in a small saucepan to around 180°F — just until you see tiny bubbles forming at the edges. Combine equal parts coffee and milk directly in your mug. To sweeten it the traditional way, mix a small amount of sugar with a splash of hot coffee first to form a paste, then stir it in — it dissolves far more evenly than adding sugar straight.
The difference between a latte and a cappuccino comes down to milk ratios. The complete guide to lattes goes deep if you want the full breakdown — here's the quick version:
Latte — About 2 oz of strong coffee to 6 oz of steamed milk, topped with a thin layer of foam. Creamy and smooth, with coffee as the supporting note.
Cappuccino — Same coffee base, but only about 2 oz of milk, frothed to roughly double its volume. Equal thirds: coffee, steamed milk, foam. Much stronger and more textured than a latte.
Brew the coffee first, froth the milk second, then pour — the coffee cools quickly and you want the milk fresh.
The key to a good iced milk coffee is starting with concentrate — regular-strength coffee poured over ice just tastes watery. Use cold brew concentrate or a double-strength moka pot or AeroPress brew, cooled to room temperature. Fill a glass with ice, pour coffee to about a third of the glass, then top with cold milk.
For a Vietnamese-style iced coffee, brew strong moka pot coffee, let it cool, pour over ice, and add 2–3 tablespoons of sweetened condensed milk. The thick milk creates a beautiful swirl as you stir it through. Our full Vietnamese iced coffee recipe covers it in detail.
Use a barista-blend oat milk, heat to about 140°F, and froth a little longer than you would with dairy. Combine with your strong coffee base just like a regular latte. Our oat milk latte recipe covers the best technique and oat milk brands for frothing.
Once you're comfortable with the basics, the flat white, cortado, and café miel are all worth exploring — each one puts a different spin on the espresso-and-milk formula.
The most common causes: milk that's too old, wrong temperature, or the wrong milk type. Fresh milk froths best — if yours is close to its expiration date, that's likely the culprit. Make sure you're hitting around 150°F. And if you're using plant-based milk, confirm it's a barista blend — regular oat or almond milk often won't foam well regardless of technique. High-fat options like half-and-half won't foam at all — great for richness, but not for building texture.
Maple syrup adds depth and pairs especially well with anything cinnamon-forward — like a café miel. Honey works beautifully with lighter roasts. Monk fruit sweetener is the best zero-calorie option with minimal aftertaste. A useful trick: add a pinch of cinnamon to your grounds before brewing — it creates a perception of sweetness without any actual sugar.
Cold brew concentrate stored in an airtight container in the fridge keeps for two to three weeks. Hot coffee concentrate oxidizes much faster and is best used within 24 hours. Never leave concentrate at room temperature.
Usually temperature shock — very hot coffee meeting cold milk — or a particularly acidic coffee. Warm your milk slightly before adding it, or try a lower-acid blend.
Café con leche: 1 part coffee to 1 part milk. Latte: 1 part coffee to 3 parts steamed milk. Cappuccino: equal thirds — coffee, steamed milk, foam. Flat white: 1 part coffee to 2 parts milk.
Yes — Dalgona-style works well. Mix 1 tablespoon instant coffee with 1 tablespoon sugar and 1 tablespoon hot water, whip until thick and frothy, then spoon over hot or cold milk. It's not the same as espresso-based drinks, but it's genuinely good.
Making good coffee at home with milk doesn't require a lot of gear — it requires understanding a few fundamentals and putting in a bit of practice. Start with quality beans, brew strong, get your milk to the right temperature, and use whichever frothing method fits your setup.
Once you've got the basics down, branch out. Try a cortado when you want something more intense, a flat white when you want something silky, or a café miel when you want something a little special. The best cup is the one that actually fits your routine — keep experimenting until you find it.

