Tested & Updated — September 2026. I re-made this syrup a dozen times before the holiday rush and changed three things. I now whisk the cocoa, sugar, and salt together dry before any water goes in, which is the end of lumpy syrup. I simmer it a full five minutes so it thickens enough to coat a spoon instead of watering down a latte. And the peppermint goes in off the heat — extract added to a boiling pot cooks off, which is why the old version needed a heavy hand with the bottle. This is the new Coffee Slang standard.
— Nick Puffer, former barista & founder of Coffee Slang
Peppermint Mocha Syrup — What You Need to Know
What it is: A chocolate-peppermint coffee syrup — cocoa, sugar, water, peppermint extract — that does the job of both the mocha sauce and the peppermint syrup in one bottle.
Base ratio: 1:1 sugar to water, plus ¼ cup cocoa per cup of water.
Time to make: 15 minutes, plus 20 minutes to cool.
Cost per batch: Roughly $1.50 for about 1¼ cups (20 tablespoons) — enough for 10 lattes.
Best served / shelf life: 2 tablespoons per 12-oz latte or cold brew; keeps 2–3 weeks refrigerated in glass.
The upgrade: Whisk the cocoa dry with the sugar, simmer 5 minutes, add the peppermint off the heat.
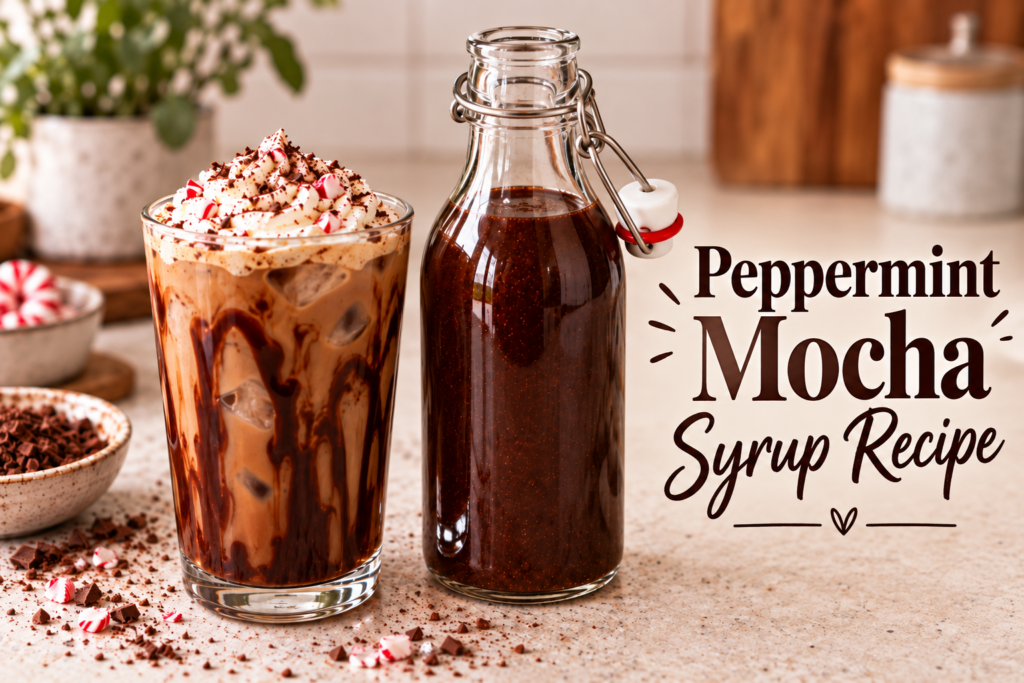
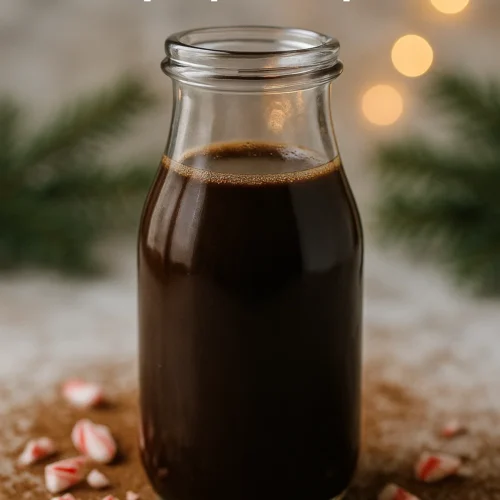
This homemade peppermint mocha syrup is dark, thick, and clean-tasting — real cocoa and pure peppermint, no artificial anything. Stir it into espresso, cold brew, or hot chocolate for a peppermint mocha at home.
Nick's Recipe Notes
Flavor: Dark chocolate first, cool peppermint on the finish. Not sweet-for-the-sake-of-sweet.
Texture: Thick enough to coat a spoon and drizzle down the inside of a glass. Thinner than a mocha sauce, thicker than a plain simple syrup.
Difficulty: Easy. One pot, one whisk.
Time: 15 minutes, then about 20 minutes cooling. Usable warm; thickens fully once cold.
Yield: About 1¼ cups — 10 lattes at 2 tablespoons each.
Why I Love This Syrup
Behind the bar, a peppermint mocha was always two pumps of mocha sauce and two pumps of peppermint — and every shift somebody wanted it "extra mint" or "less chocolate." Making the syrup at home means I set that ratio once and pour. It's also the syrup I reach for most from November on: it turns plain drip into something, it makes the Homemade Peppermint Mocha a 3-minute drink, and a batch costs about what one grande does at the shop.
Ingredients
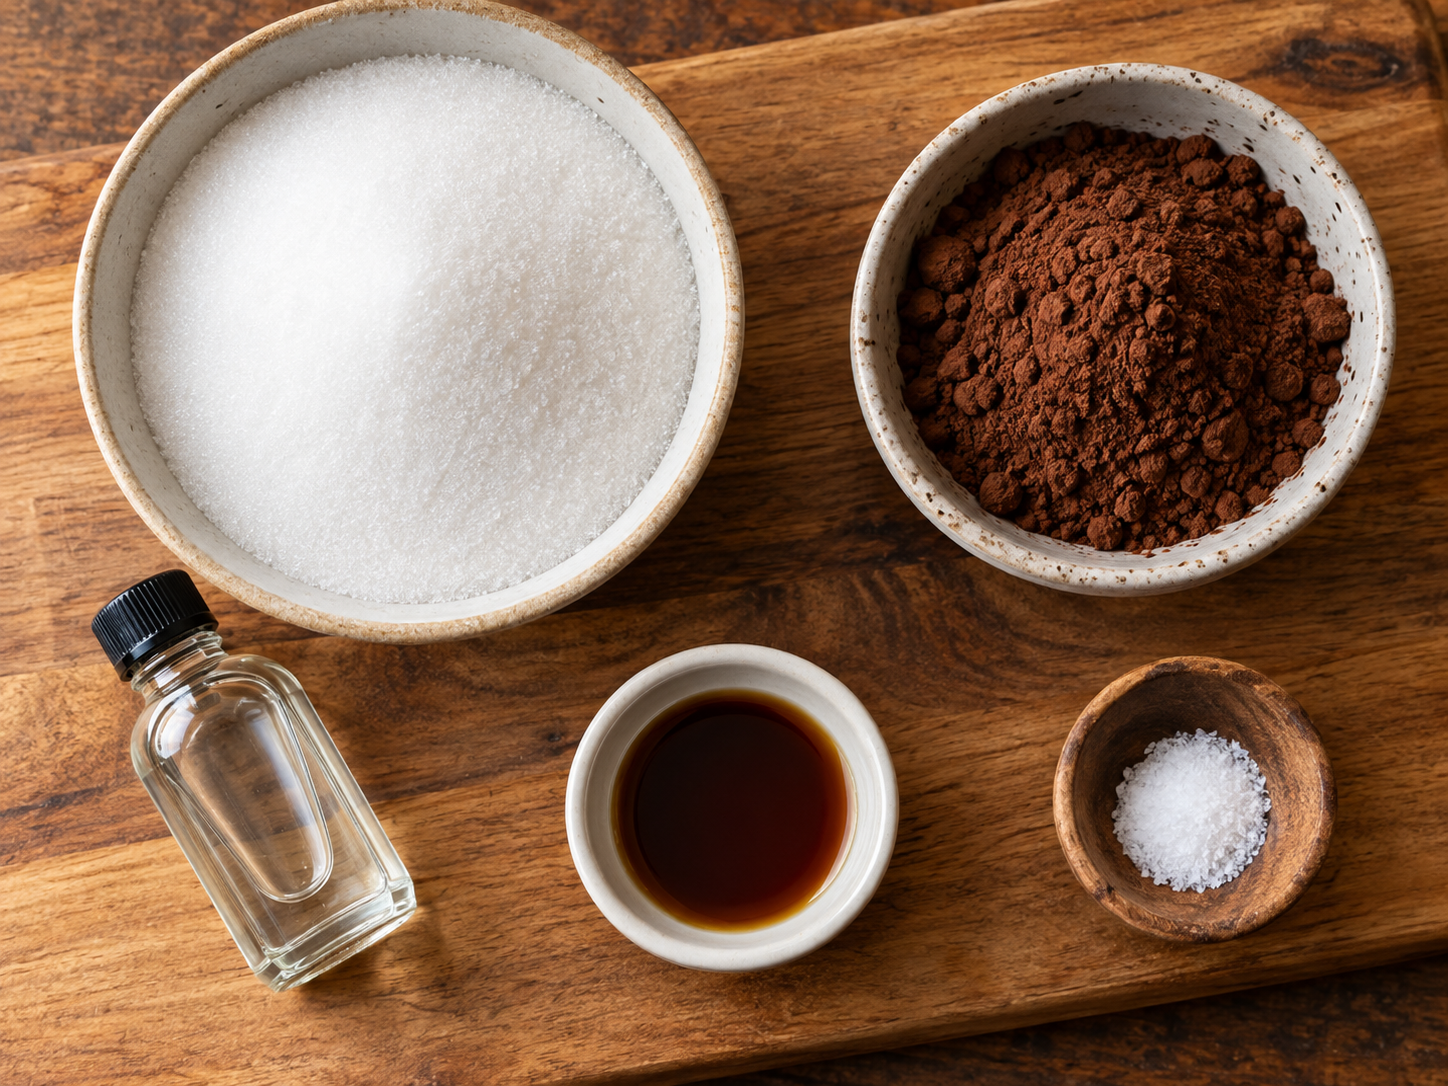
Everything you need — five pantry ingredients.
Ingredient Notes & Substitutions
Granulated sugar: Plain white sugar keeps the chocolate tasting like chocolate. Light brown sugar works and adds a caramel note; cut the vanilla in half if you use it. Allulose swaps 1:1 for a sugar-free version — it's the only substitute that simmers and thickens like sugar.
Dutch-process cocoa powder: Darker, smoother, and less acidic than natural cocoa, and it dissolves more evenly. Natural (regular) cocoa works but tastes sharper — add a pinch more salt. Sift it if it came out of the tin in clumps.
Peppermint extract: Pure peppermint extract, not "mint" extract, which is usually a spearmint blend and tastes like gum. Start at ¼ teaspoon; ½ is the ceiling. No extract? Dissolve 2 crushed candy canes into the pot instead and cut the sugar to ¾ cup.
Vanilla extract: Rounds off the cocoa's edges. Vanilla bean paste works at half the amount.
Fine salt: ⅛ teaspoon. You won't taste salt — you'll taste more chocolate.
Water: Tap is fine. Filtered if your tap water tastes like anything.
Helpful Equipment
Small saucepan (1–2 quart): Heavy-bottomed if you have one — cocoa scorches on thin pans.
Whisk: Not a spoon. The dry whisk in step 1 is what keeps the syrup lump-free.
Glass jar or swing-top bottle (12 oz+): For storage. A glass measuring cup makes pouring into it easier.
Fine-mesh sieve (optional): Only if you skipped the dry whisk and ended up with lumps.
Step-by-Step Instructions
Ingredient quantities are in the recipe card below.
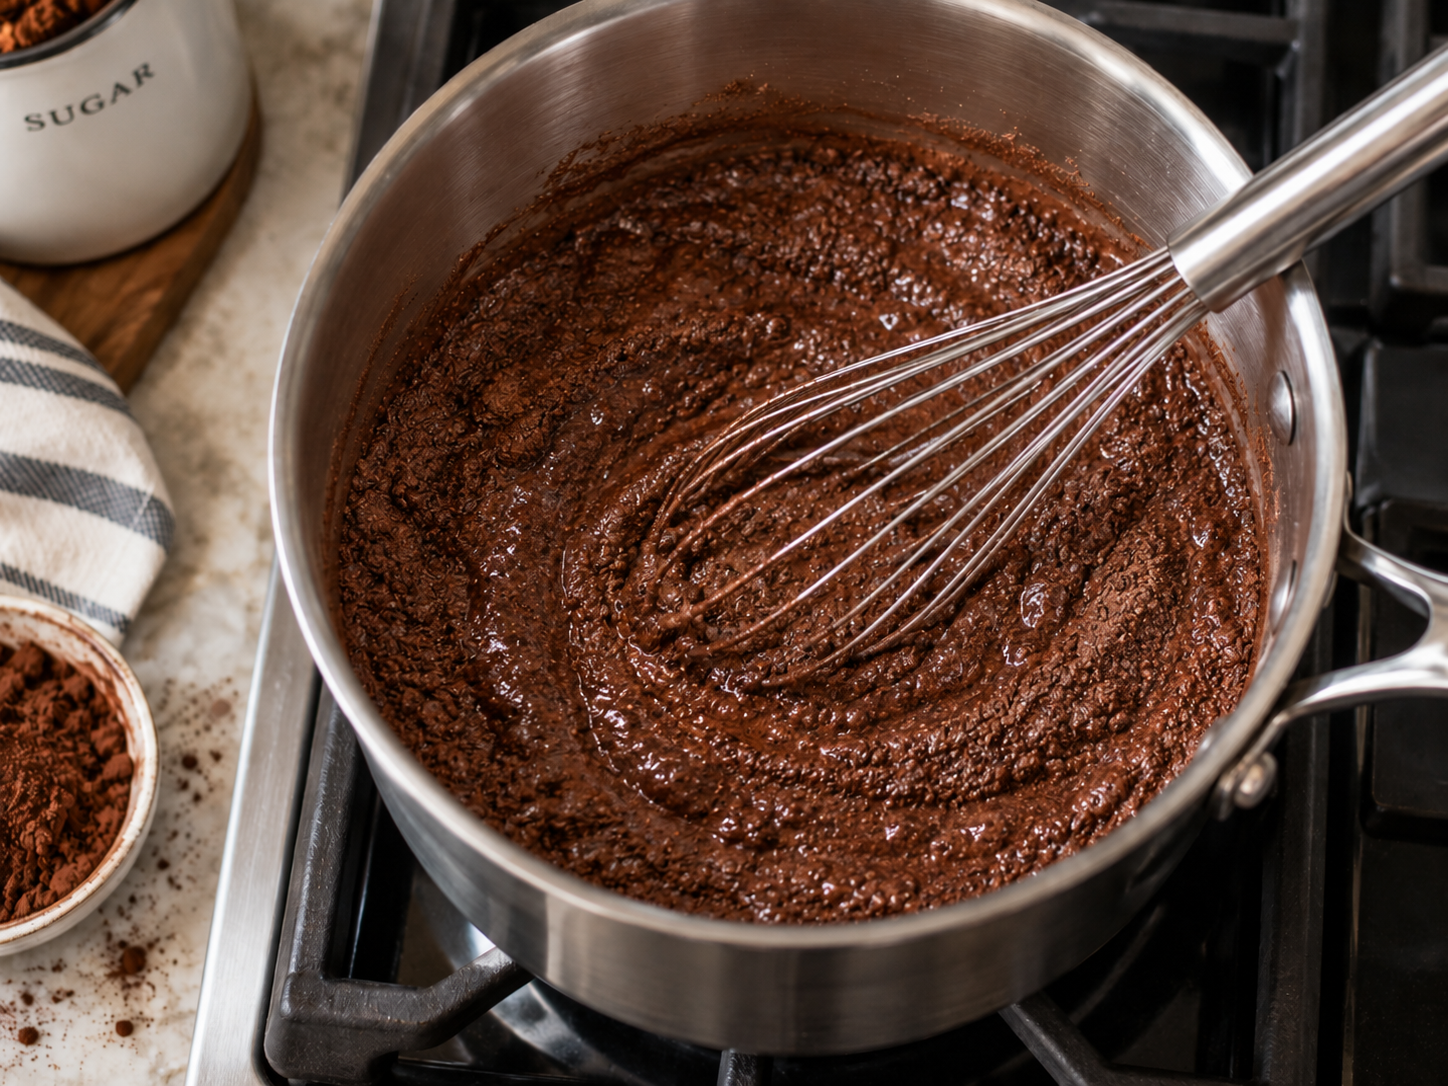
Step 1: Whisk the sugar, cocoa powder, and salt together in a small saucepan with the heat off, until the cocoa is evenly distributed and there are no dark clumps. About 20 seconds.
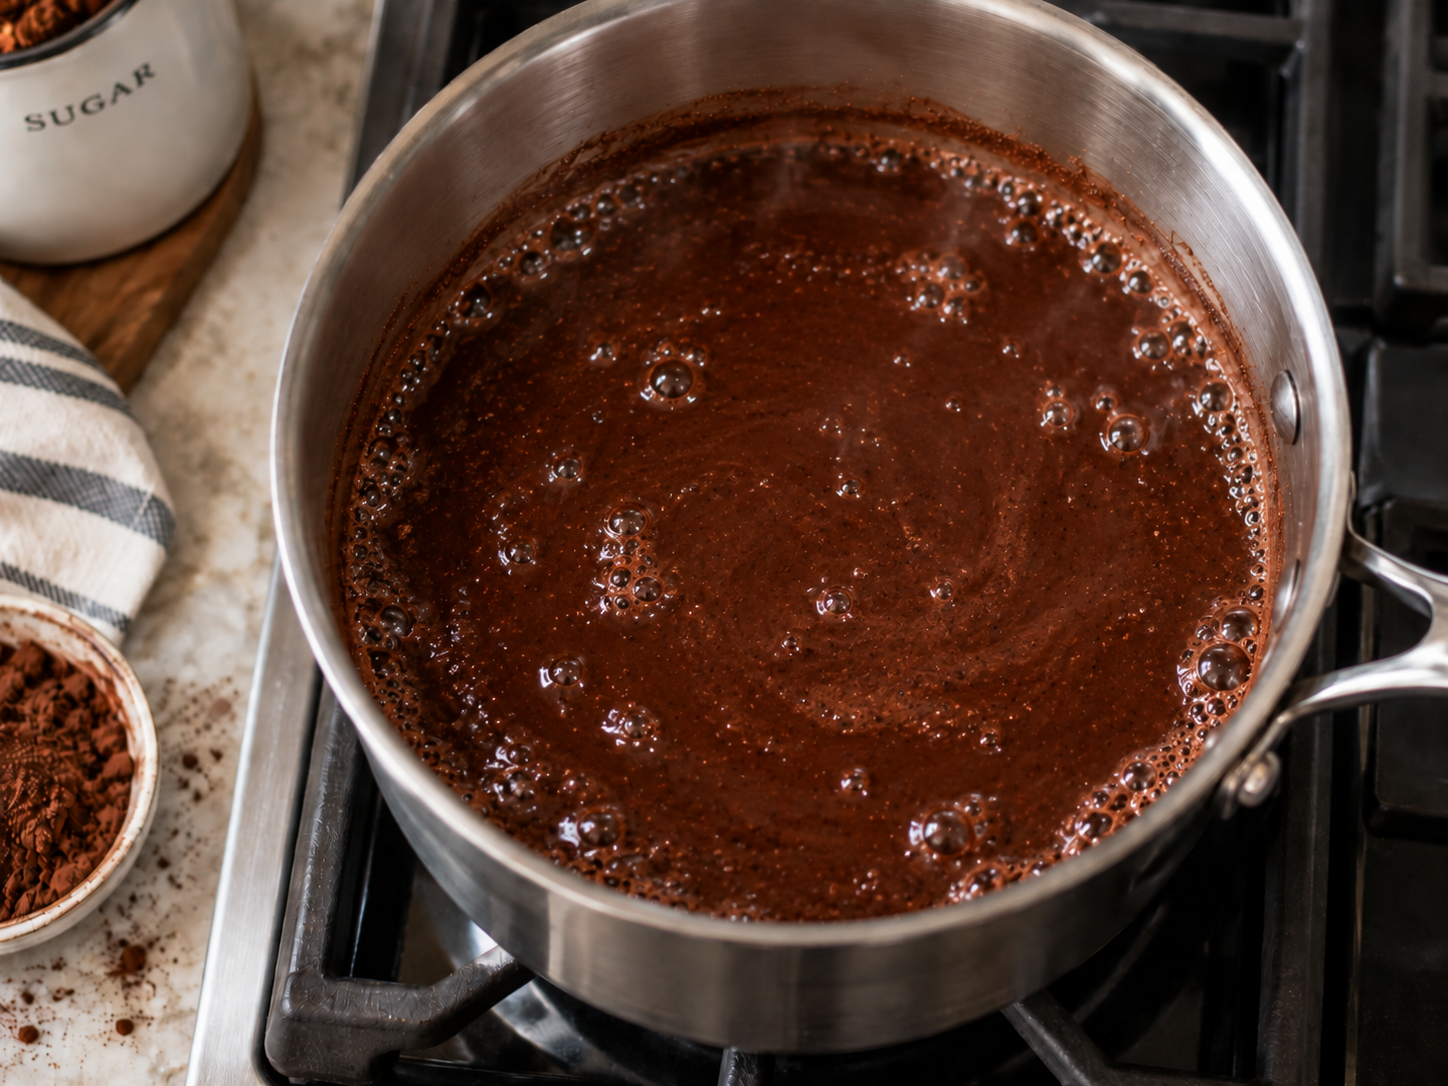
Step 2: Pour in the water and set the pan over medium heat. Whisk steadily as it warms. By the time it reaches a simmer the sugar should be dissolved and the syrup dark and glossy.
Step 1 — sugar, cocoa, and salt whisked dryStep 2 — water in, glossy at a simmer
⚠️
Medium heat, not highCocoa scorches on the pan bottom fast, and burnt cocoa tastes bitter through the whole batch. If you smell anything toasty, pull it off and whisk.
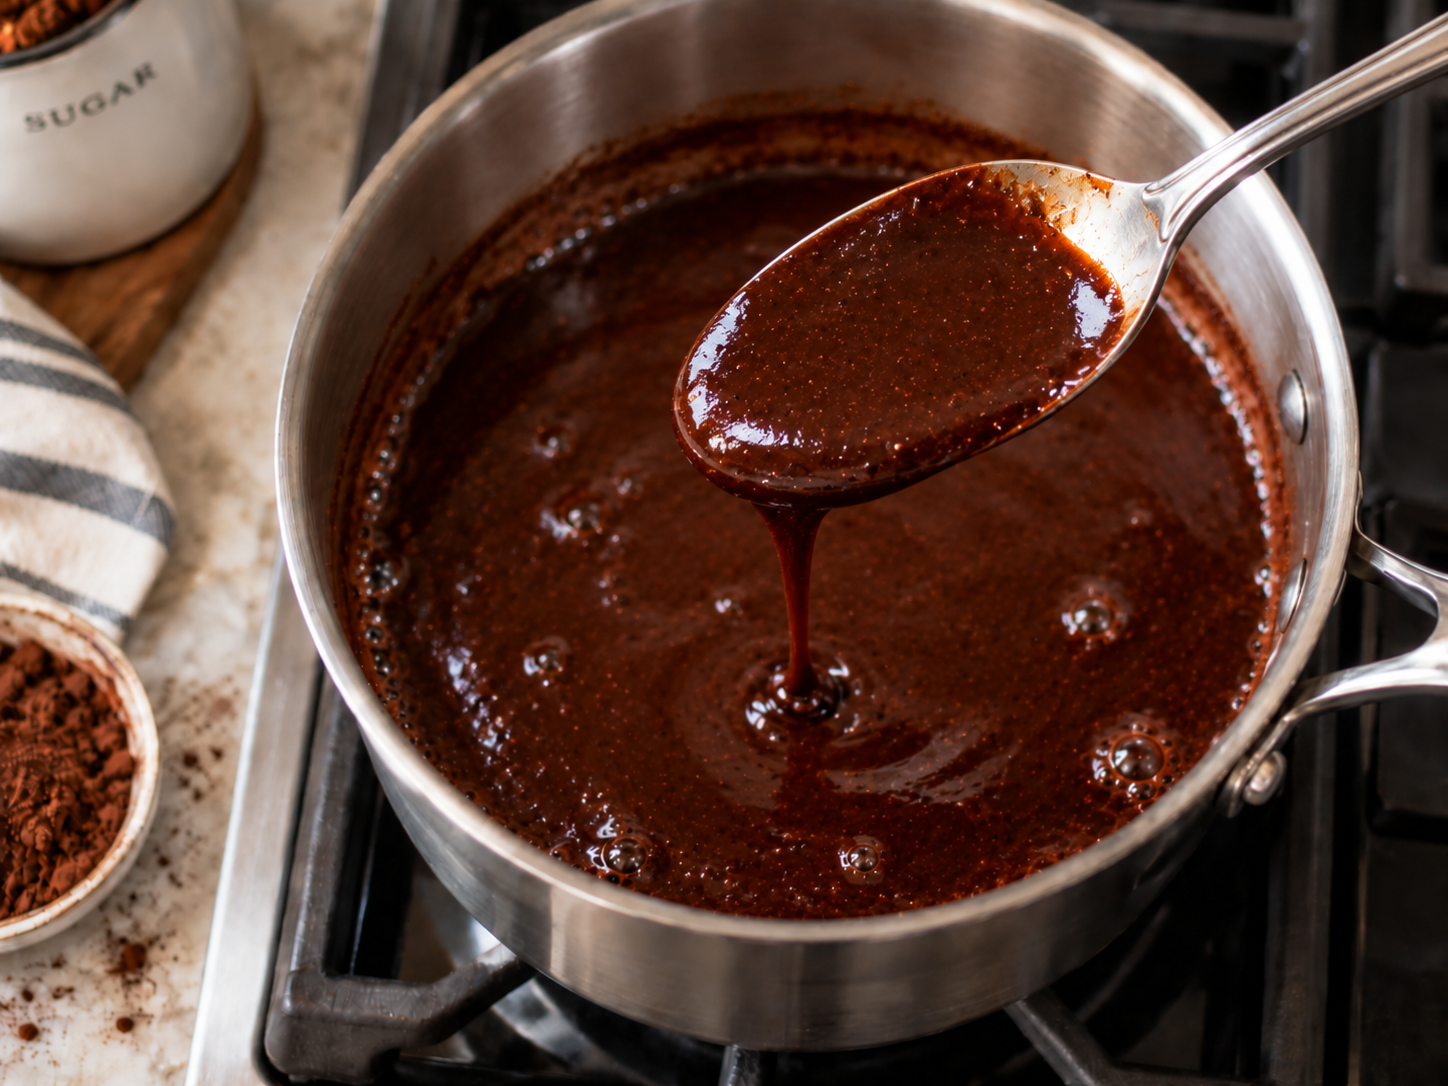
Step 3: Once simmering, cook 5 minutes, stirring every minute or so. It will still look thin in the pot — it thickens a lot as it cools. Dip a spoon: it should leave a translucent brown film rather than running off clear.
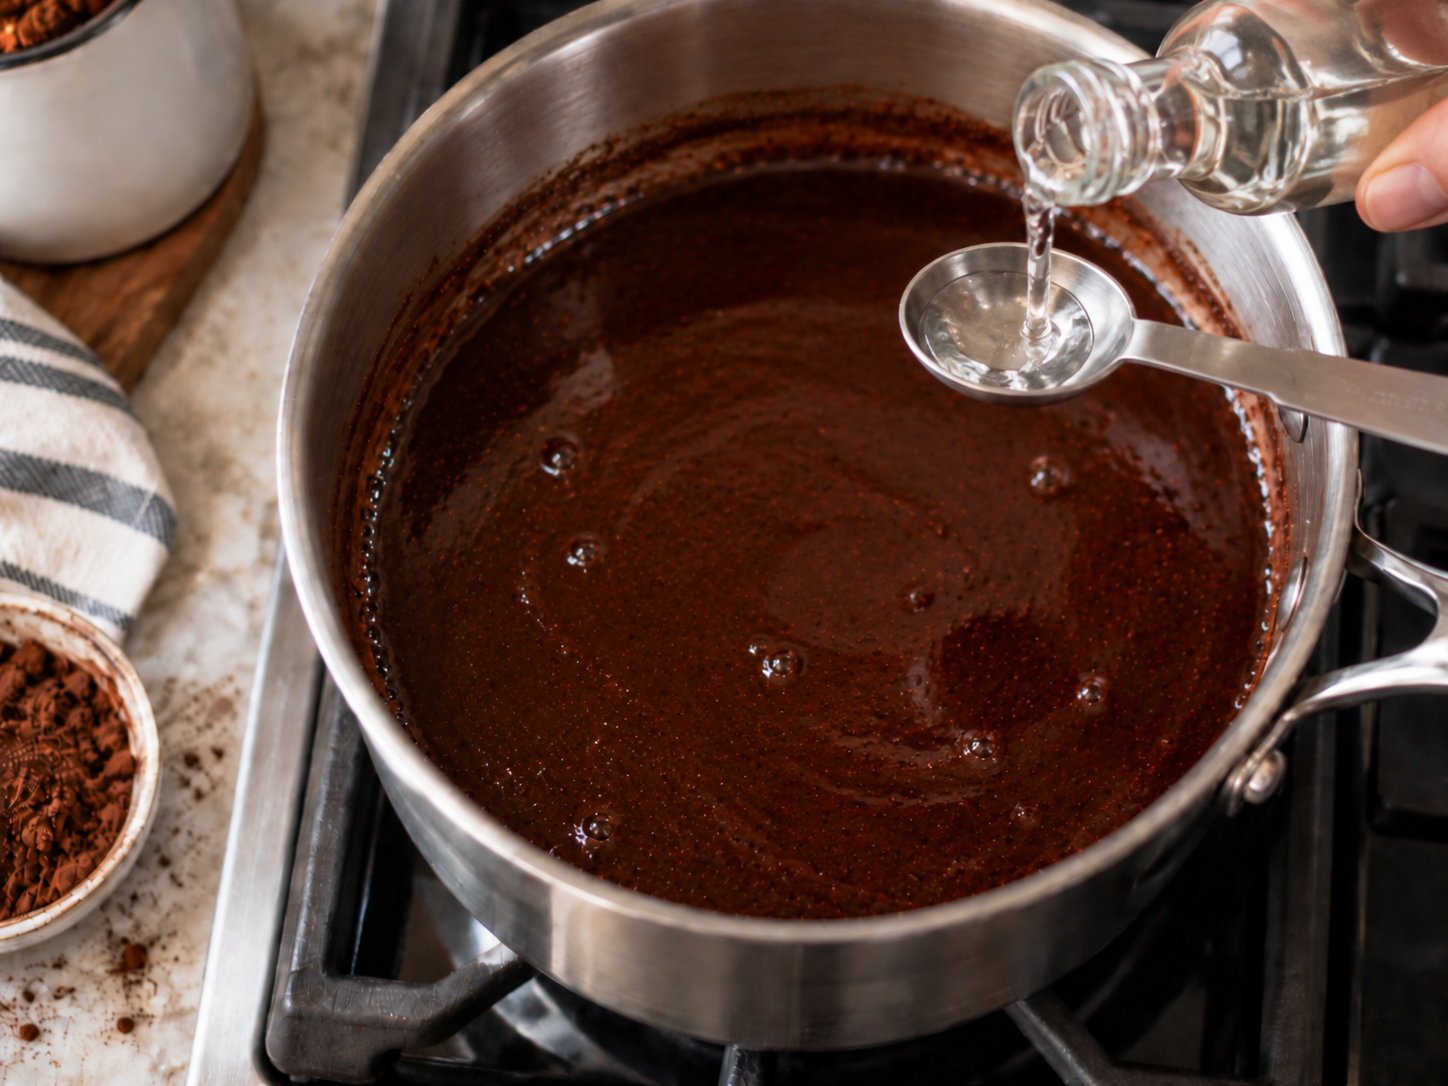
Step 4: Take the pan off the heat and wait 30 seconds. Stir in the vanilla and ¼ teaspoon of peppermint extract. Taste (see the tip below) and add up to another ¼ teaspoon.
Step 3 — coats the spoon after 5 minutesStep 4 — peppermint goes in off the heat
💡
Taste it the way you'll drink itStraight from the pot, the mint tastes far stronger than it will in milk. Stir a teaspoon of syrup into a splash of milk and taste that before adding more extract. Most people land around ⅜ teaspoon total.
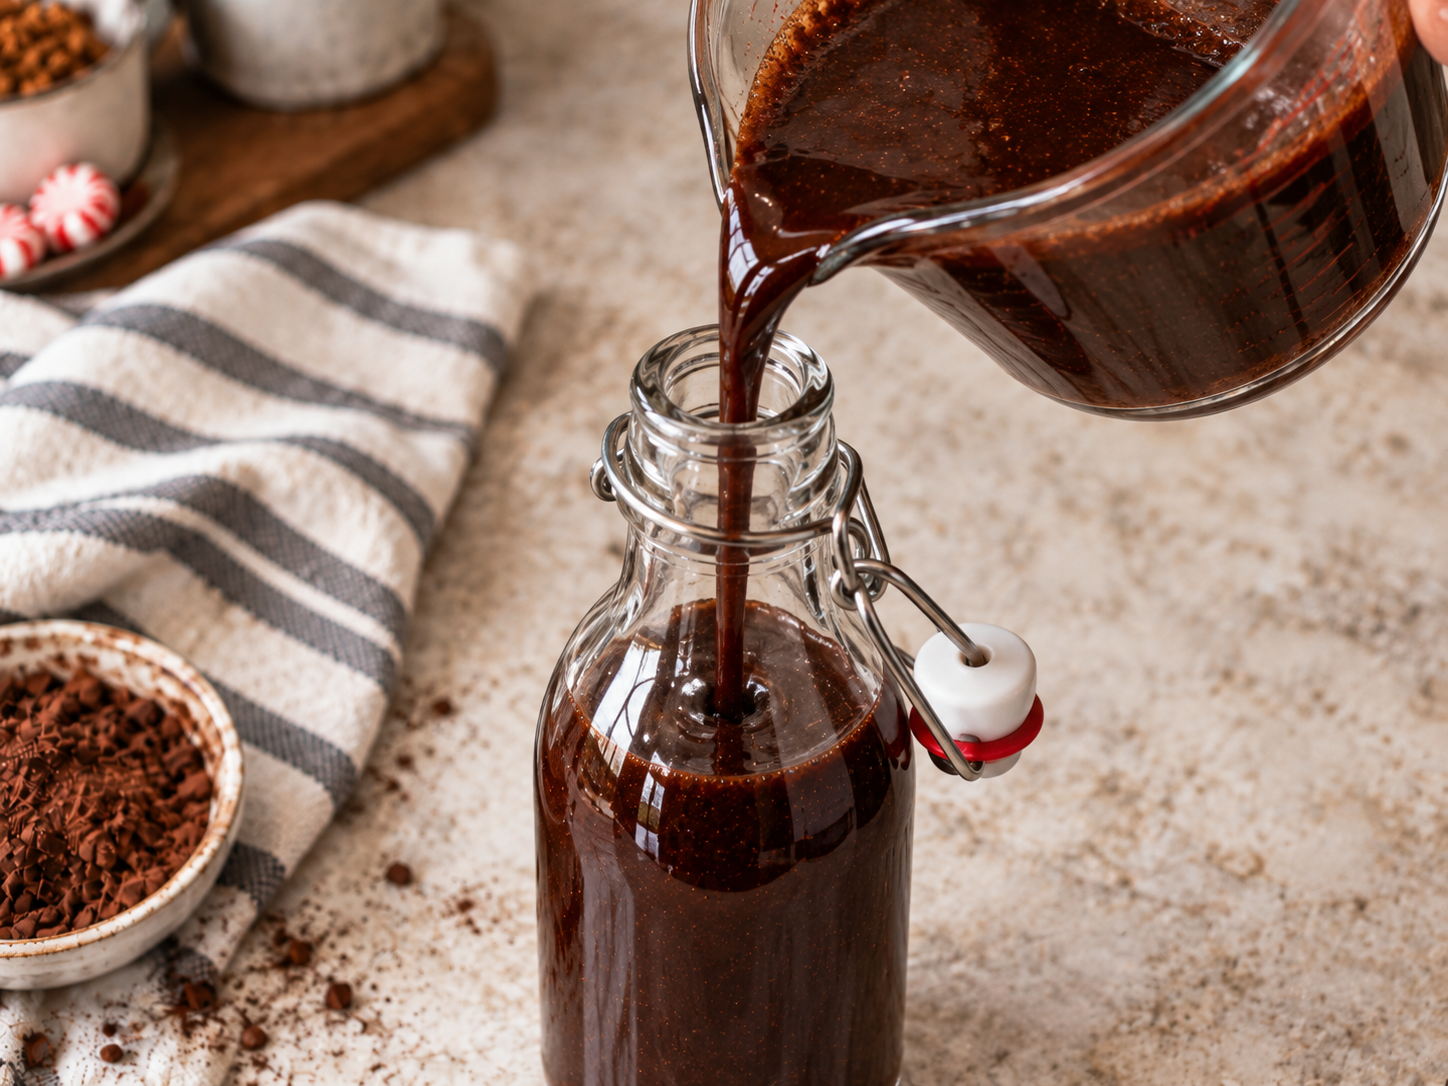
Step 5: Cool in the pan about 20 minutes, then pour into a clean glass jar or bottle. That's it — refrigerate and it's ready to pour.
Step 5 — cooled and bottled
Storage
Refrigerated in a sealed glass jar, the syrup keeps 2–3 weeks. Let it reach room temperature before it goes in the fridge — cooling it too fast is what causes sugar crystals. The cocoa will settle a little between uses; shake before each pour.
Freezing: Pour into an ice cube tray, freeze, then bag the cubes. Each standard cube is about 2 tablespoons — one drink — and they keep 3 months. Drop one straight into hot coffee.
Serving
Use 2 tablespoons per 12-oz drink, 3 for a 16-oz. A few ways I actually use it:
Iced peppermint mocha: Syrup, espresso, and cold milk over ice — the syrup dissolves cold with no problem.
In cold brew: 2 tablespoons stirred into a glass of homemade cold brew, splash of cream.
Peppermint mocha cold foam: Whisk 2 tablespoons into ½ cup cold heavy cream until soft peaks, spoon over cold brew. Same method as the pumpkin cream cold foam.
Hot chocolate: 3 tablespoons in a 12-oz mug of hot milk replaces the cocoa entirely.
Drizzle: Over whipped cream, ice cream, or brownies. Brush it on cake layers.
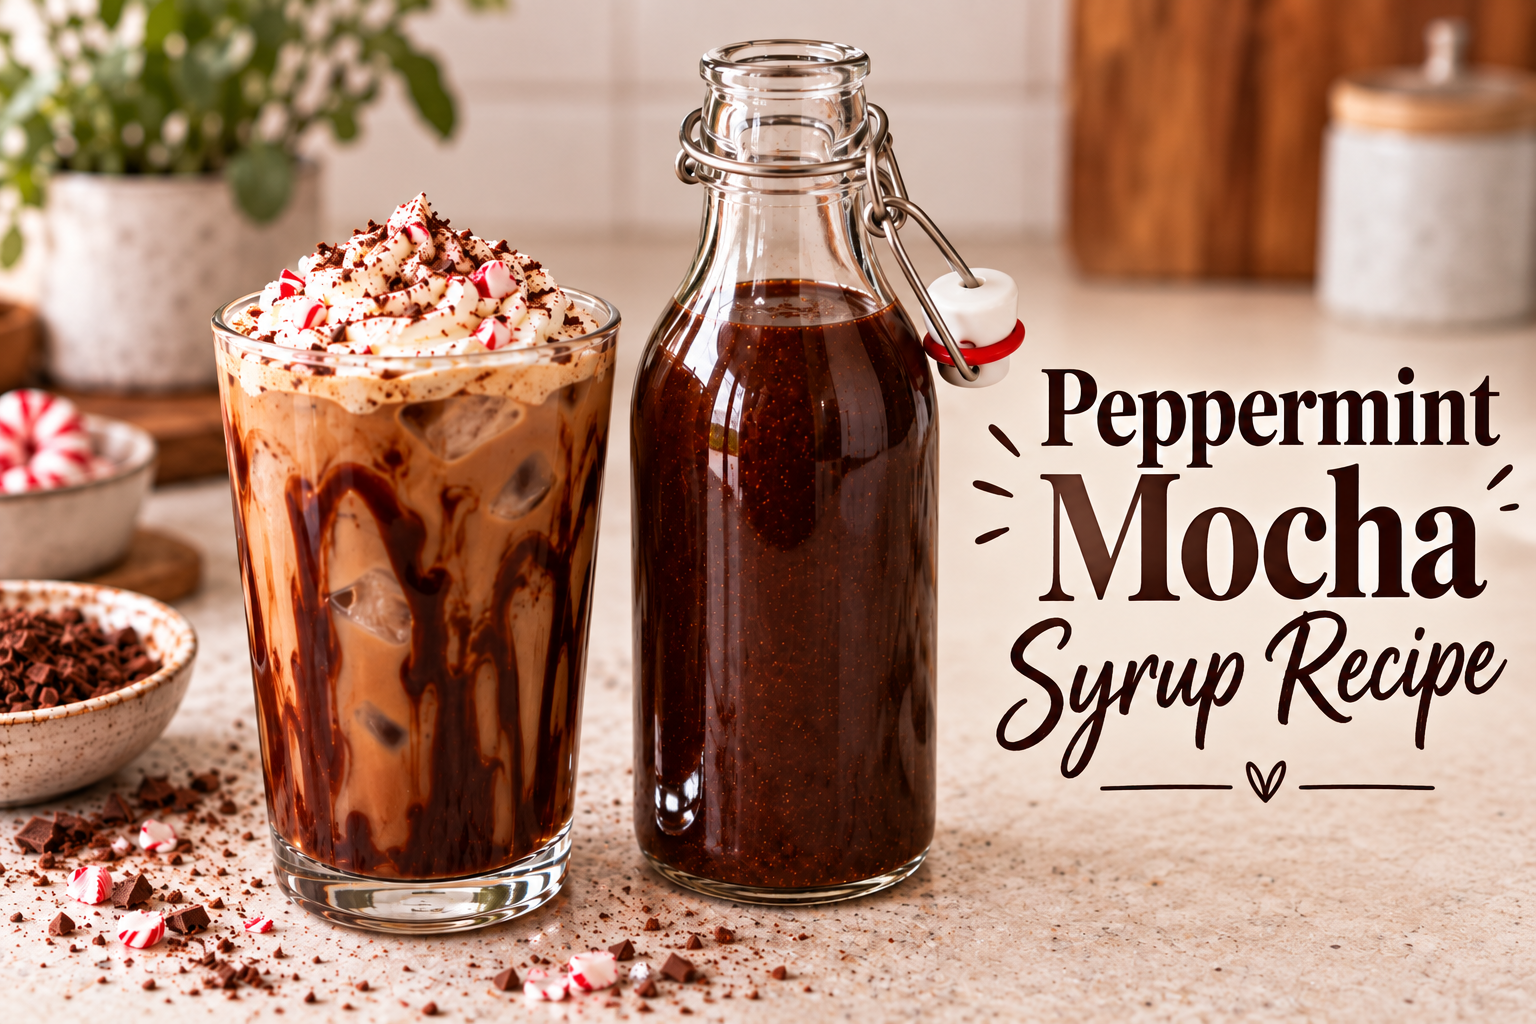
The finished syrup beside a peppermint mocha
Tips for the Best Syrup
Don't skip the dry whisk. Sugar grains break up the cocoa so it can't ball up when the water hits. This one step is why the syrup comes out smooth without straining.
Peppermint goes in off the heat. Extracts are alcohol-based and volatile — add them to a boiling pot and a good share of the mint evaporates before you taste it. Off the heat, ¼ teaspoon does what ½ used to.
Thicker or thinner: For a thicker syrup, simmer 3–4 minutes longer, or stir 1 ounce of chopped dark chocolate in at the end of step 3. Too thick once cold? Whisk in a tablespoon of hot water.
Judge it cold, not hot. Syrup thickens dramatically as it cools. If you reduce it until it looks thick in the pan, it'll be paste in the fridge.
Brush the pan sides. If sugar crystals form on the sides during the simmer, brush them down with a wet pastry brush — they'll seed crystallization in the bottle otherwise.
Full quantities and a printable version are in the recipe card below.
Homemade Peppermint Mocha Syrup
A thick, dark chocolate-peppermint coffee syrup made with Dutch-process cocoa, sugar, and pure peppermint extract. One pot, 15 minutes, and it does the job of both the mocha sauce and the peppermint syrup in a coffee-shop peppermint mocha.
¼–½tsppure peppermint extractstart with ¼, add to taste
Instructions
Whisk the sugar, cocoa powder, and salt together in a small saucepan with the heat off until the cocoa is evenly distributed and there are no dark clumps, about 20 seconds.
Pour in the water and set the pan over medium heat. Whisk steadily as it warms until the sugar dissolves and the syrup reaches a gentle simmer — glossy and dark, not a rolling boil.
Once simmering, cook 5 minutes, stirring every minute or so, until the syrup coats the back of a spoon in a translucent brown film. It will still look thin hot; it thickens as it cools.
Remove from the heat and wait 30 seconds. Stir in the vanilla and ¼ teaspoon of peppermint extract. Taste a teaspoon in a splash of milk, then add up to another ¼ teaspoon if you want it mintier.
Cool in the pan about 20 minutes, then pour into a clean glass jar or bottle. Refrigerate up to 2–3 weeks. Shake before using; use 2 tablespoons per 12-oz drink.
Notes
Start with ¼ tsp peppermint and add off the heat only — extract added to a boiling pot cooks off.Dutch-process cocoa gives a darker, smoother syrup; natural cocoa works but tastes sharper (add a pinch more salt).Thicker syrup: simmer 3–4 minutes longer, or stir 1 oz chopped dark chocolate in at the end of step 3.Candy cane version: cut the sugar to ¾ cup and dissolve 2 crushed candy canes into the pot in step 2.Freeze it: ice cube trays, about 2 tbsp per cube, up to 3 months.
Candy cane: Cut the sugar to ¾ cup and dissolve 2 crushed candy canes into the pot in step 2, stirring so they don't stick. Skip the extract or add a drop to taste.
Dark chocolate mocha: Stir 1 ounce of chopped 70% dark chocolate in at the end of step 3. Richer, and it holds body even if you undersimmer.
White peppermint mocha: Drop the cocoa. Make a plain 1:1 syrup, melt 3 ounces of chopped white chocolate into it off the heat, then add the peppermint. Keeps about a week.
Lumpy or gritty. The cocoa hit water before it was mixed through the sugar. Strain this batch through a fine-mesh sieve; next time do the dry whisk in step 1.
Too thin. Undersimmered. Back in the pan for 3–4 more minutes. Judge it cold — it thickens as it cools.
Tastes like toothpaste. Too much peppermint, or "mint" extract instead of pure peppermint. Dilute with a half-batch of plain cocoa syrup made without extract.
Mint faded after a few days. The extract went into a boiling pot. Off-heat only. Rescue the bottle with a few extra drops stirred in cold.
Grainy in the fridge. Cooled too fast or crystals seeded on the pan sides. Room temperature before refrigerating; brush the pan sides during the simmer.
Bitter or burnt. Scorched cocoa. No saving that batch — medium heat and keep whisking next time.
How much peppermint mocha syrup do I use per drink?
Use 2 tablespoons (1 ounce) for a 12-ounce latte, iced coffee, or cold brew, and 3 tablespoons for a 16-ounce drink. That's roughly equivalent to two pumps of mocha sauce plus two pumps of peppermint syrup at a coffee shop. For hot chocolate, 3 tablespoons per 12-ounce mug replaces the cocoa entirely.
Can I use candy canes instead of peppermint extract?
Yes. Cut the sugar to ¾ cup and dissolve 2 crushed candy canes (about 2 tablespoons) into the pot along with the water in step 2, stirring constantly so they don't stick to the bottom. Candy canes give a fixed, milder mint level and a slightly thicker syrup because of the extra sugar. If it tastes under-minted, add a drop or two of peppermint extract off the heat.
Does peppermint mocha syrup have caffeine?
A trace. Cocoa powder contains about 12 milligrams of caffeine per tablespoon, and this batch uses 4 tablespoons across roughly 20 tablespoons of syrup, so a 2-tablespoon serving carries about 2–3 milligrams — less than a cup of decaf. The coffee or espresso you add it to is where the caffeine comes from.
How is this different from a Starbucks Peppermint Mocha?
Starbucks builds the drink from two separate pumps — mocha sauce and peppermint syrup — in equal amounts, then adds espresso, steamed milk, whipped cream, and dark chocolate curls. This syrup combines both flavors in one bottle so you can set the mint-to-chocolate ratio once. It uses Dutch-process cocoa and pure peppermint extract rather than the shop's sauce base, so the chocolate reads darker and less sweet.
Dutch-process or natural cocoa powder?
Dutch-process, if you have it. It's been treated to neutralize cocoa's natural acidity, so it tastes smoother and darker and dissolves more evenly in syrup. Natural cocoa works and is easier to find, but the syrup will taste sharper and slightly fruity, and you may want a pinch more salt to round it out. Hershey's Special Dark and Droste are Dutch-process; regular Hershey's and Ghirardelli unsweetened are natural.
How long does homemade peppermint mocha syrup last, and can I freeze it?
Refrigerated in a sealed glass jar, it keeps 2–3 weeks; the 1:1 sugar ratio acts as a preservative. Discard it if it smells sour or you see any mold on the surface. It also freezes well: pour into an ice cube tray, freeze, then bag the cubes. Each standard cube is about 2 tablespoons, and they keep 3 months. Drop one straight into hot coffee or thaw overnight for cold drinks.
Bottom Line
Five ingredients, one pot, 15 minutes. Whisk the cocoa in dry, simmer a full five minutes, and add the peppermint off the heat — that's the whole difference between a syrup that works and one that's better than the shop's.
Former barista. Lifelong coffee obsessive. I started Coffee Slang to cut through the noise and share what actually matters — good recipes, honest gear takes, and a genuine love for the craft.