You don't need an espresso machine to steam milk. The best no-machine methods are:
Target temperature for all methods: 140–155°F. Above 160°F the proteins break down and foam collapses.
A steam wand produces milk that's hard to replicate at home — the pressure forces tiny air bubbles into the milk as it heats, creating that silky, integrated microfoam you get on a well-made latte or flat white. But "hard to replicate" doesn't mean impossible. With the right technique, you can get surprisingly close — close enough that the difference won't matter for most home drinks.
This guide covers five methods in order of foam quality, with honest notes on what each one can and can't do. Whether you're working with a dedicated milk frother, a French press, or just your stovetop and a jar, there's a method here that fits your setup.
| Method | Equipment needed | Foam quality | Effort | Best for |
|---|---|---|---|---|
| Automatic electric frother | Electric frother (e.g. Aeroccino) | ★★★★★ | Minimal | Daily lattes, cappuccinos |
| Handheld frother + stovetop | Handheld wand, saucepan or microwave | ★★★★☆ | Low | Lattes, café au lait |
| French press | French press, stovetop | ★★★★☆ | Medium | Cappuccinos, thick foam |
| Jar method | Jar with lid, microwave | ★★★☆☆ | Low | Lattes, café au lait |
| Stovetop whisk | Small whisk or immersion blender | ★★☆☆☆ | Medium | Warm milk, light foam |
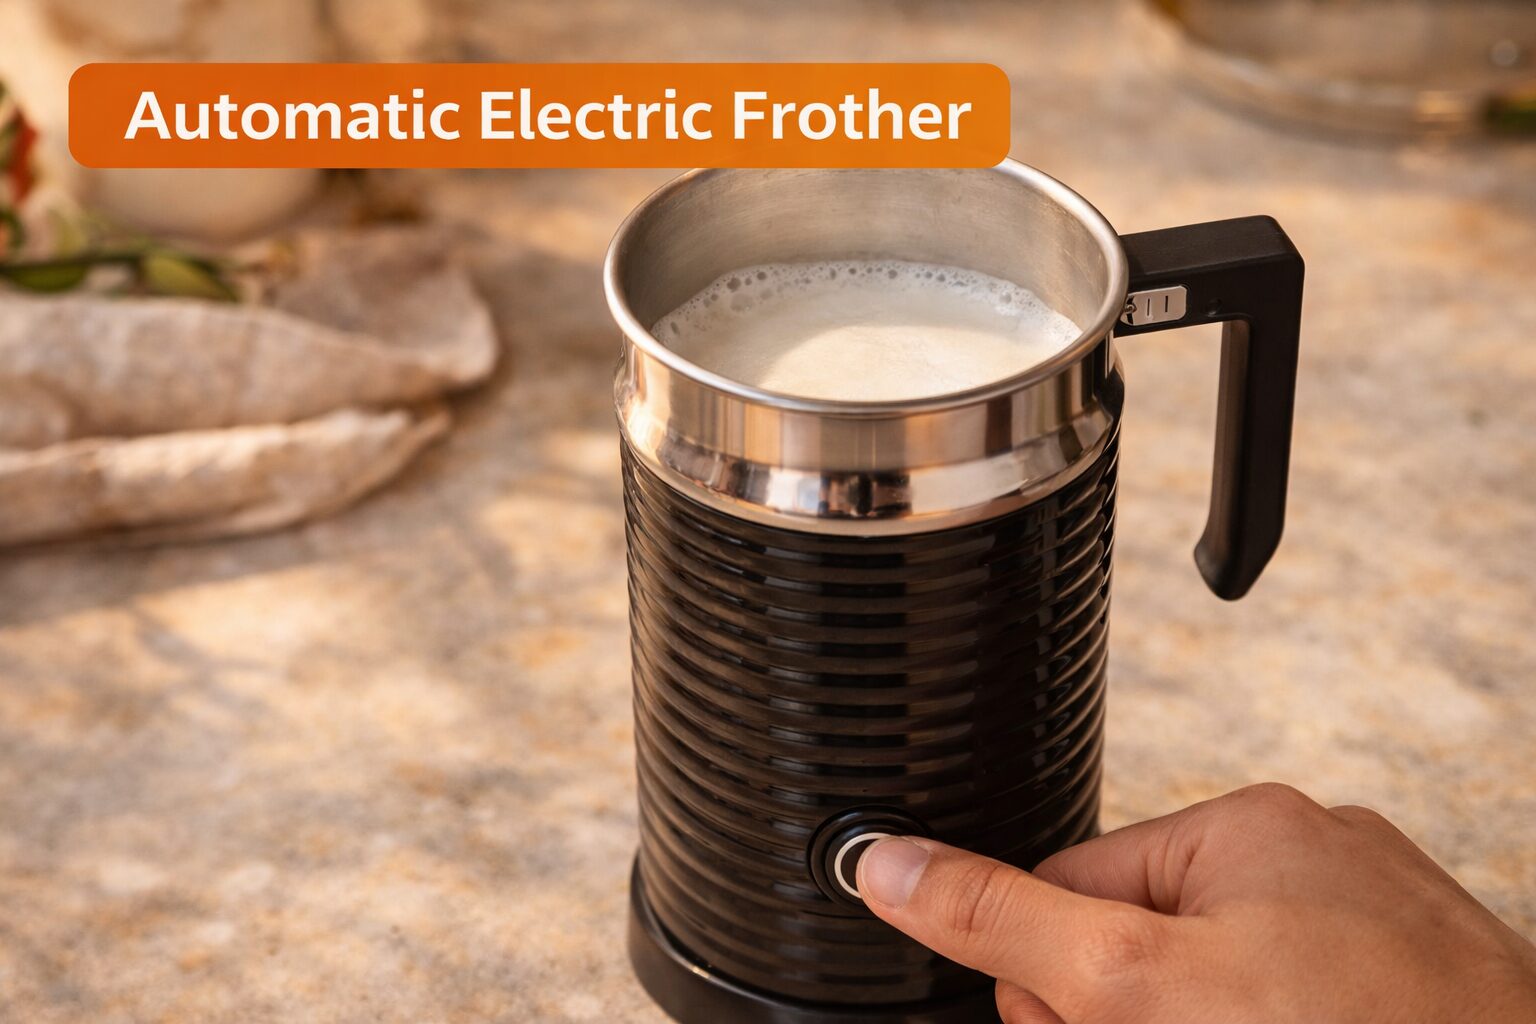
If you want steamed milk without an espresso machine and you don't already own an electric frother, this is the upgrade worth making. Models like the Nespresso Aeroccino 3 heat milk and froth it simultaneously — one button, 60 seconds, done. The result isn't identical to a steam wand (no pressure means no true microfoam), but it's the closest you'll get without one.
Use cold milk straight from the fridge — don't fill past the froth line or the milk will overflow as it expands. Most jugs have two fill lines: one for frothing (lower) and one for heating only (higher).
Most automatics offer hot dense foam (cappuccino), hot light foam (latte), and cold foam modes. Press and walk away — the frother stops automatically when done.
Give the jug a gentle swirl to integrate the foam and milk before pouring. This gives you a smoother, more consistent pour and better texture in the cup.
Not sure which electric frother to get? The full milk frother guide covers every price point from $8 to $199 with honest testing notes. And if you want to understand the difference between automatic and handheld models, the handheld vs electric breakdown cuts straight to it.

A handheld milk frother on its own only creates foam — it doesn't heat. Pair it with a stovetop or microwave and you've got a two-step process that produces genuinely good steamed milk for everyday lattes and café au laits. This is the method most home baristas land on for daily use because the equipment is cheap, cleanup is minimal, and the results are consistent once you dial in your temperature.
Pour your milk into a small saucepan and heat over medium-low, stirring occasionally. Target 140–150°F. If you don't have a thermometer, heat until you see wisps of steam rising and small bubbles forming at the edge — not a rolling boil. Alternatively, microwave in a tall mug for 45–60 seconds.
Transfer to a tall mug or pitcher if using a saucepan. Submerge the handheld frother just below the surface and run it for 20–30 seconds. Move the wand up and down slightly to incorporate air from different depths. The milk should roughly double in volume.
Tap the cup on the counter a few times to pop large surface bubbles, then swirl to integrate the foam. Pour immediately — the foam starts to separate within a couple of minutes.
Too cool and the foam is thin and watery. Too hot (above 160°F) and the milk proteins break down, producing flat, bitter-tasting foam that collapses immediately. A $10 milk thermometer makes this effortless — or use the steam-and-small-bubbles visual cue.
For a deeper look at what a handheld wand can and can't do versus an automatic, see the handheld vs electric frother guide. If you want no equipment at all, jump to the jar method below.
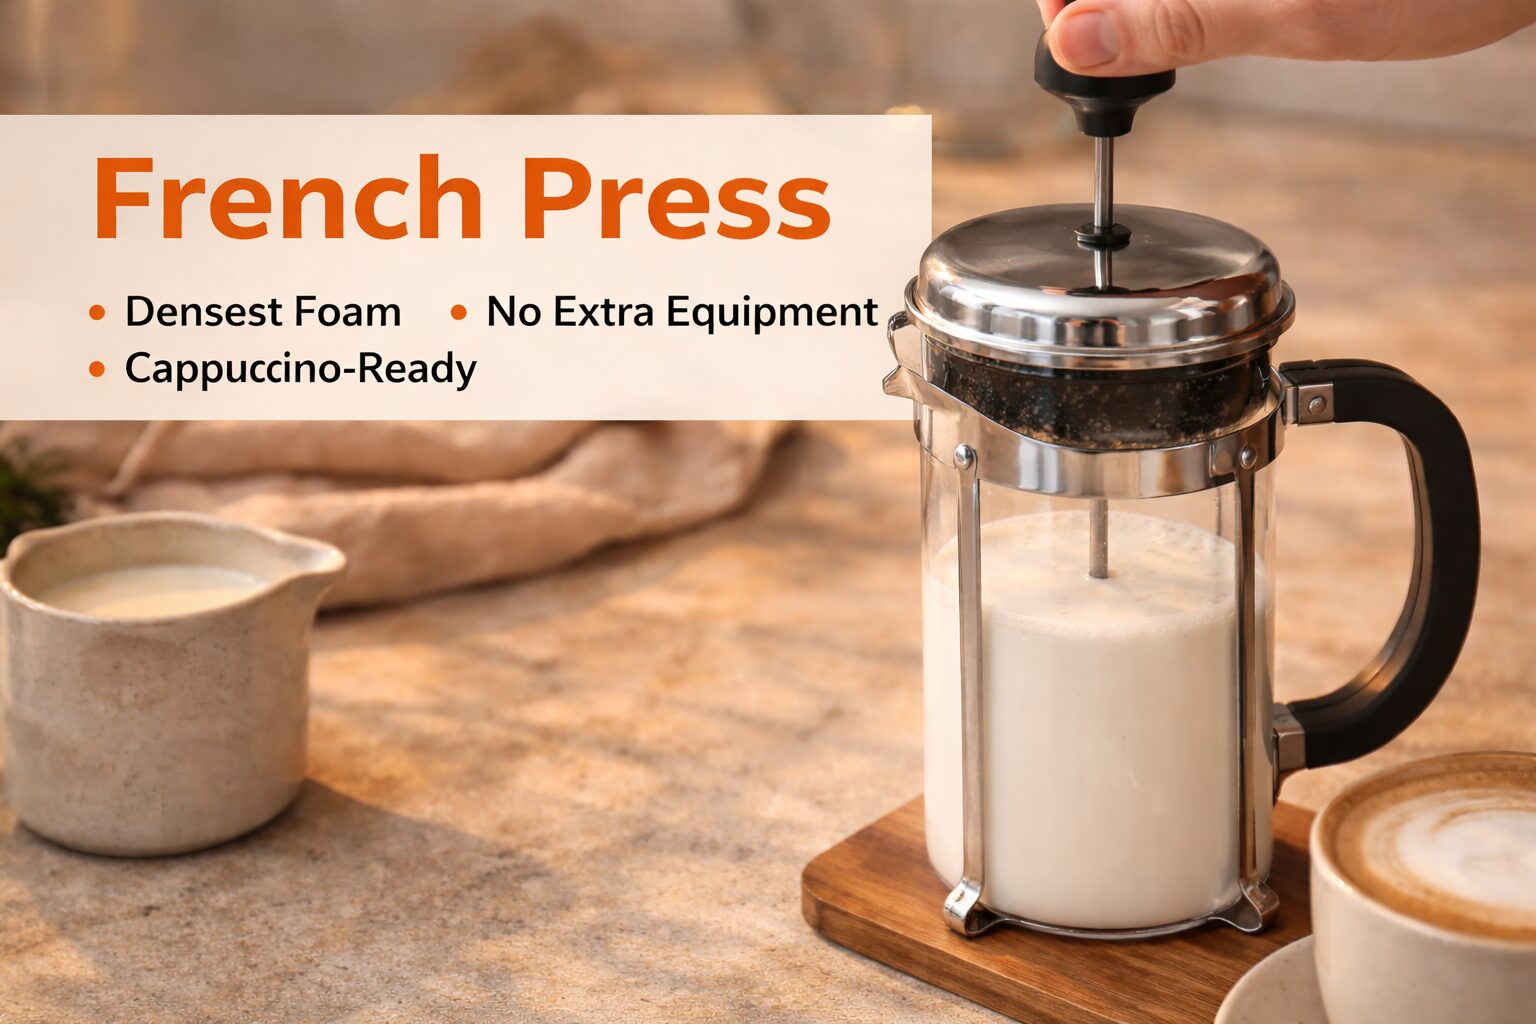
If you already own a French press, you've got the best no-machine milk steamer in your kitchen. The plunger's pumping action forces air through warm milk in a way that no other manual method can match — the foam you get is noticeably thicker and more stable than a jar shake or a hand whisk. It's legitimately good enough for a cappuccino.
The French press doesn't heat — you need to warm the milk first. Heat on the stovetop or microwave to 140–150°F. Don't overfill: pour only about one-third of your French press capacity, as the milk will roughly triple in volume when pumped.
Pour the warm milk into the French press and place the lid on. Pump the plunger up and down rapidly — not all the way to the bottom, just through the milk — for 30–45 seconds. You'll feel resistance build as the foam develops. Keep going until the milk has doubled or tripled in volume.
Remove the lid and microwave for 20–30 seconds. The heat sets the foam structure and significantly extends how long it holds before separating. Skip this step if the milk is already at drinking temperature.
Hold the foam back with a spoon as you pour the steamed milk, then add the foam on top. For a cappuccino, spoon a generous layer of the thick foam directly onto the espresso.
Rinse the French press thoroughly immediately after — milk residue in the mesh and plunger is much harder to remove once it dries. If you use your press for coffee too, a dedicated pump frother like the Bodum Latteo keeps flavours separate.
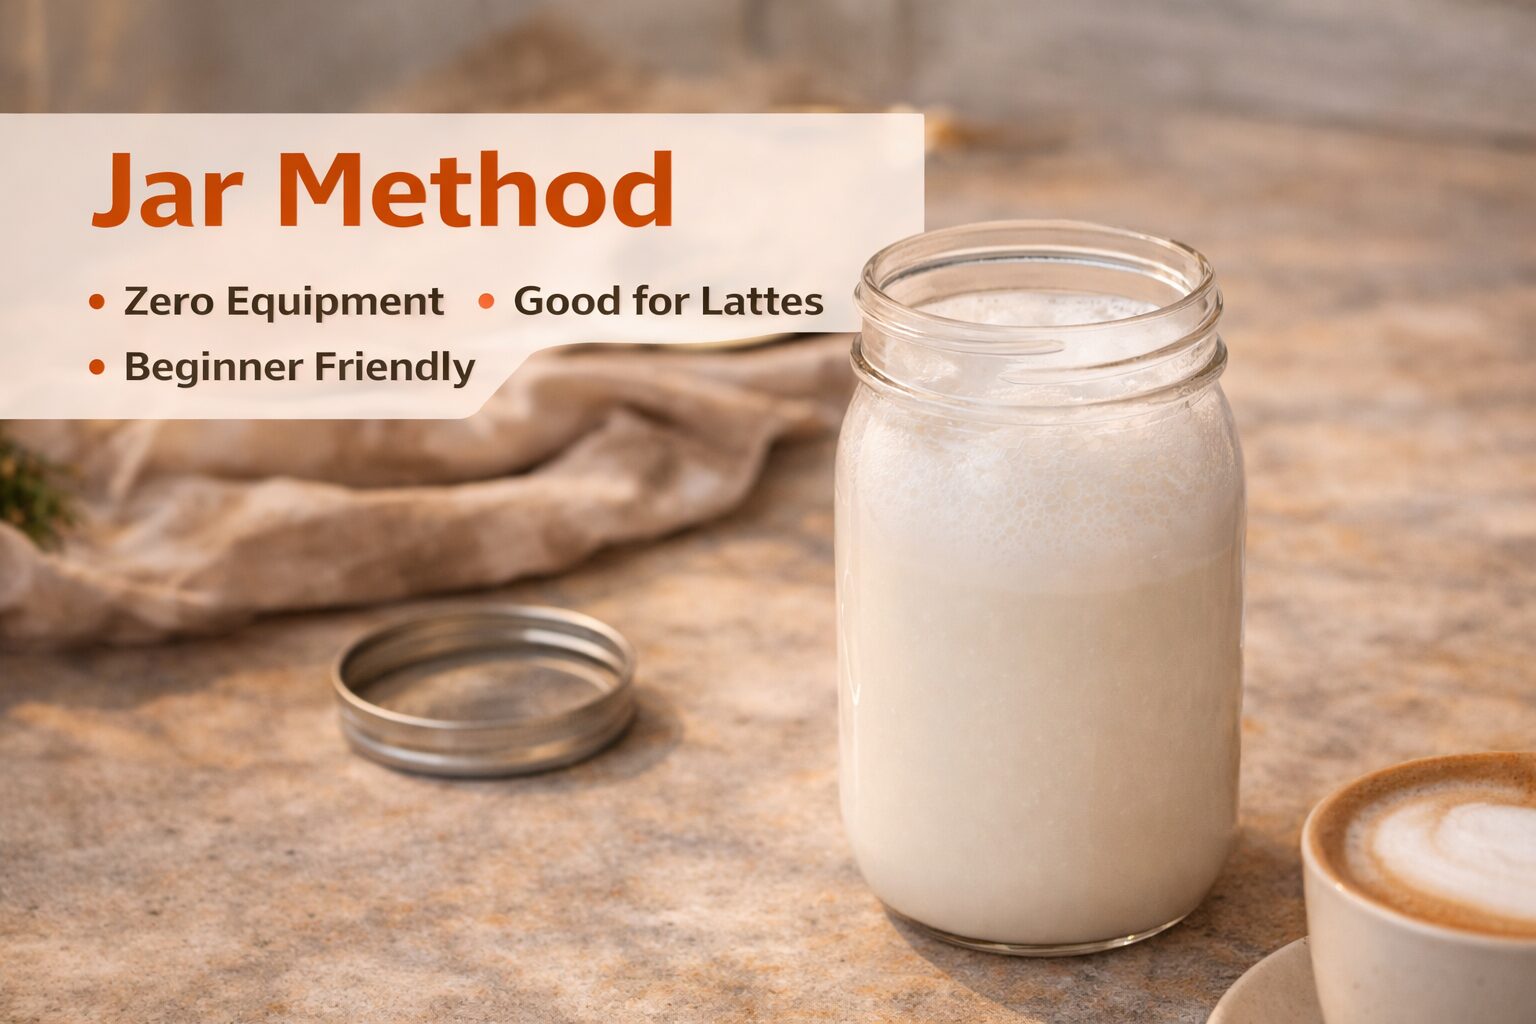
No frother, no French press, no problem. A mason jar and a microwave is genuinely all you need. This is the method covered in detail in the no-frother guide — here's the quick version with the steaming focus.
Cold milk froths significantly better than warm. Fill no more than halfway — the milk will double in volume and you need headroom.
Hold the lid firmly and shake hard. The milk should look thick and foamy and have roughly doubled in volume. If it hasn't, keep shaking.
This heats the milk and sets the foam. The heat stabilises the bubbles so they hold longer — without this step, the foam collapses within 30 seconds.
Pour the warm steamed milk into your coffee or espresso and spoon the foam on top. Use immediately.
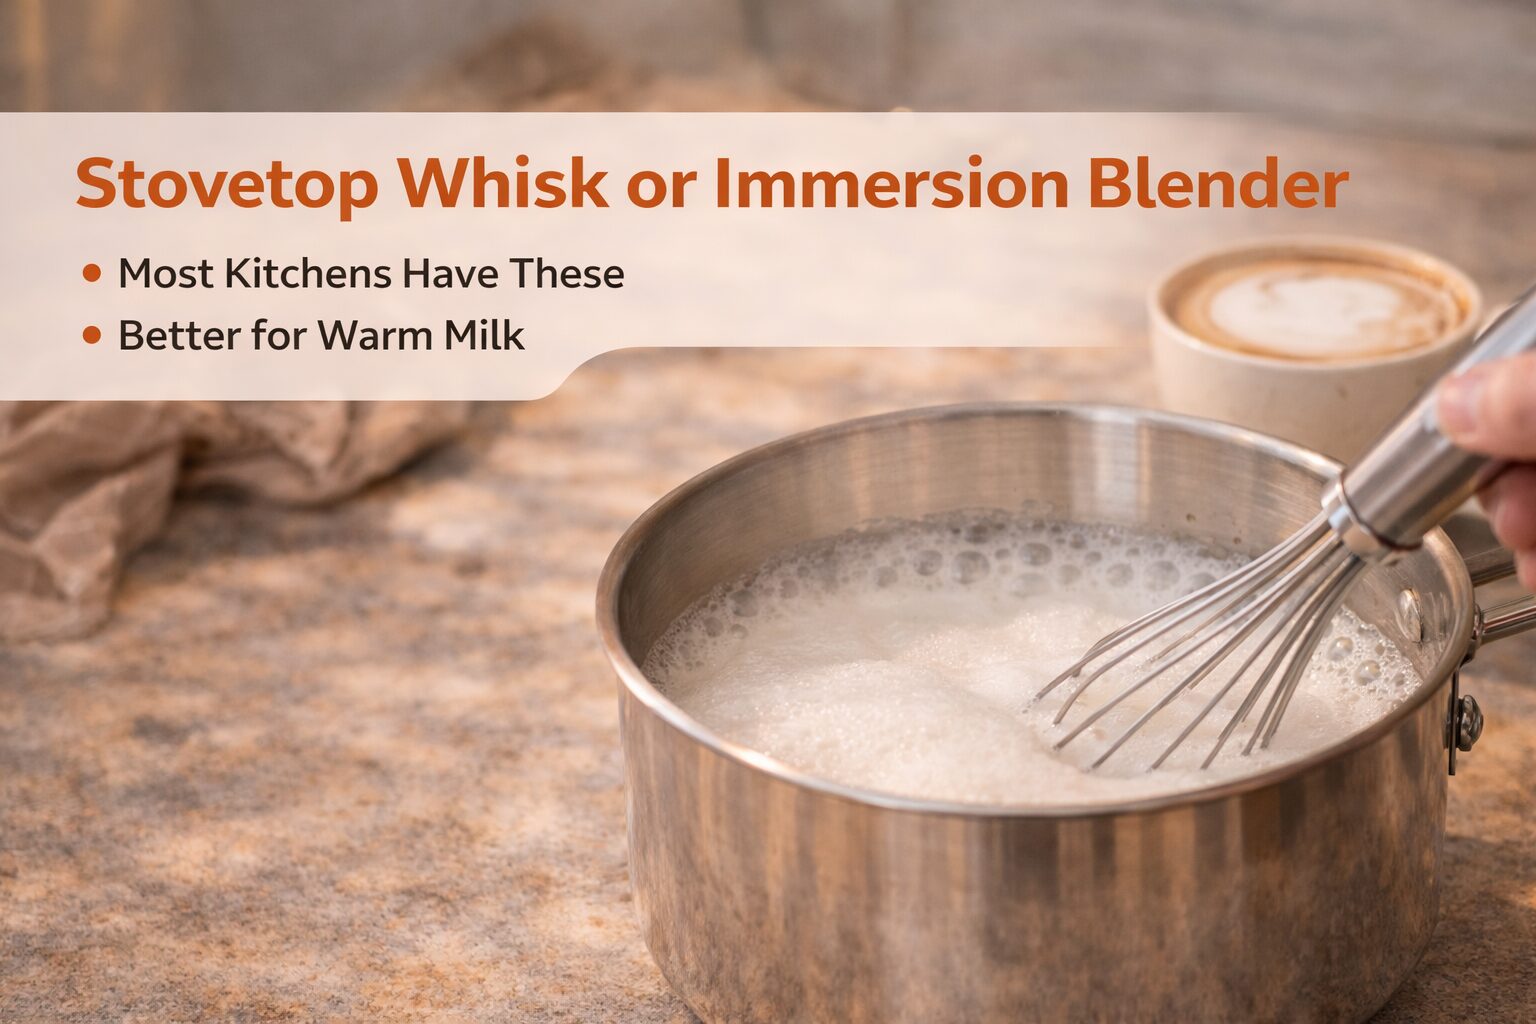
A hand whisk or immersion blender won't produce the foam quality of a frother or French press, but they do a reasonable job of aerating and warming milk in a single vessel. Think of this as the "warm milk with some froth" method — great for a café au lait or a simple latte where foam texture isn't the priority.
Warm over medium-low heat to 140–150°F, stirring occasionally to prevent a skin forming on top. Do not boil.
For a hand whisk: hold the saucepan off the heat and whisk quickly for 20–30 seconds, working the whisk in tight circles near the surface to incorporate air. For an immersion blender: hold it just below the surface and blend for 10–15 seconds — don't go too deep or you'll splash everywhere.
Whisk foam separates quickly — pour into your coffee right away and use a spoon to transfer any surface foam on top.
Milk type matters more than most people expect — especially with no-machine methods where you don't have a steam wand's pressure to compensate. Here's what to know:
The easiest to foam and the most forgiving across all five methods. Higher fat content creates stable, creamy foam. If you're learning or troubleshooting, start here.
The best plant-based option for steaming. Barista blends (Oatly Barista, Califia Barista) are specifically formulated with extra fat and stabilisers for frothing. Keep below 150°F — oat milk scorches more readily than dairy and the foam collapses fast when overheated. Standard (non-barista) oat milk works but produces thinner, less stable foam.
Works well — produces slightly less creamy foam than whole milk but the difference is subtle. Fine for all five methods.
Standard almond milk froths poorly — the low protein and fat content means the foam is thin and collapses almost immediately. Barista almond milk blends behave better but still lag behind dairy and oat milk. Not ideal for the jar or whisk methods.
Surprisingly good for foam volume — the lower fat allows bubbles to form easily, giving you more foam. But it's less creamy and the foam is more watery-tasting. Best for cappuccino-style drinks where you want a lot of foam rather than a rich, integrated texture.
Whatever milk you're using — start cold, heat to 140–150°F, and froth immediately. Cold milk produces more stable foam because the proteins are tighter and trap air more effectively as they warm. Once milk has cooled after being heated, it won't froth as well the second time.
Once you have a reliable steaming method dialled in, the drink options open up significantly. These all work with no-machine steamed milk:
Almost always a temperature problem — milk was either too hot (above 160°F, proteins denatured) or too cold (below 130°F, proteins didn't engage properly). Aim for 140–150°F. Also check your milk type — ultra-pasteurised milk froths significantly worse than regular pasteurised.
You're incorporating air too fast. For the handheld frother, keep the wand just below the surface and move it slowly. For the jar method, this is largely unavoidable — the jar produces bigger bubbles by nature. The French press or electric frother will give you finer, more integrated foam.
It was overheated. Milk scalds above 170°F and takes on a bitter, slightly sulphurous taste that ruins the drink. Use a thermometer or pull off the heat as soon as you see steam rising and small edge bubbles — well before a boil.
Temperature again — oat milk is more heat-sensitive than dairy and breaks above 150°F. Use barista-blend oat milk and heat more conservatively than you would with whole milk. If it's separating even at correct temps, the milk may be old or non-barista formulation.
Yes — five methods work well: an automatic electric frother (best results), a handheld frother paired with stovetop heating, a French press, the jar shake method, or a stovetop whisk. None produce true microfoam identical to a steam wand, but the electric frother and French press come close enough for most home drinks.
140–155°F is the ideal range. Below 130°F the milk tastes cold and the foam is thin. Above 160°F the proteins start to break down, producing flat foam and a slightly bitter, cooked-milk flavour. For oat milk, stay closer to 140–150°F — it's more heat-sensitive than dairy.
Whole dairy milk is the easiest — it froths reliably across all methods, holds foam well, and is very forgiving on temperature. For plant-based options, barista-blend oat milk (Oatly Barista, Califia Barista) is the best substitute. Avoid standard almond milk for frothing — it produces thin, unstable foam regardless of method.
Yes — it's the best manual no-equipment method for foam density. The plunger action forces air through warm milk far more effectively than a jar shake or hand whisk, producing foam thick enough for a proper cappuccino. The main tradeoff: you need to heat the milk separately first, and the French press needs thorough rinsing immediately after to prevent milk residue buildup.
Steamed milk is heated milk with incorporated air — the foam and liquid are integrated. Frothed milk has a distinct, separate foam layer sitting on top of warm liquid. In practice, the terms are often used interchangeably. A latte uses steamed milk (silky, integrated). A cappuccino uses frothed milk (thick, dry foam on top). Most no-machine methods produce something in between — which is fine for home drinks.
No — a moka pot, AeroPress, or even strong drip coffee works as the espresso base for a home latte. Pair it with any of the steaming methods above and you've got a solid result. For more on making espresso-style coffee without a machine, see the espresso without a machine guide.
The best method is whichever one you'll actually use consistently. If you're making one latte a day and don't want to think about it, a $35–60 electric frother solves the problem completely. If you already own a French press, you've got the best manual option in your kitchen. And if you're in a pinch with nothing but a jar and a microwave, the jar method genuinely works.
The technique gap between any of these methods and a real steam wand is real — but it's a lot smaller than most people expect, especially once you nail the temperature. Get that right and you'll be making lattes, cappuccinos, and flat whites at home that are genuinely worth drinking.
Still deciding on equipment? The handheld vs electric frother guide will help you choose. Or if you want to skip equipment entirely, the no-frother guide covers four more methods in detail. Happy brewing. ☕

Former barista. Lifelong coffee obsessive. I started Coffee Slang to cut through the noise and share what actually matters — good recipes, honest gear takes, and a genuine love for the craft.
More About Nick →